Have you ever wanted to make art like Andy Warhol, layered with bright colors and bold designs? The Warhol Museum has a studio where visitors of all ages can create handmade silkscreen art and souvenirs.
But there’s also a new app, DIY Warhol, that lets you make digital silkscreen prints from your photos — It’s Pop Art anywhere, anytime.
The app walks you through Warhol’s process:
- Cropping & adjusting: Warhol was known for creating designs with close-up images from magazines, advertisements, and other pop culture references, often whiting out the background so the focus is on the person or object.
- Underpainting: This is where Warhol created bright, colorful designs applied on top of his base image, like these famous flowers.
- Screen preparation: In order to create a stencil for his design, Warhol would apply an even layer of light-sensitive emulsion onto the screen, then wash away the excess.
- Exposing: Warhol’s stencil would harden when exposed to UV light and dried in the dark.
- Registration: To print, Warhol would secure his screen on the printing press, aligning the underpainting beneath the silkscreen before printing on paper.
- Pulling the silkscreen: The last step for Warhol would be applying ink to the screen and pulling it over the press using a rubber squeegee — pushing ink through small mesh holes to create tiny dots of the design.
Let’s try it.

A slideshow on how to use the DIY Warhol app. (Francesca Dabecco / City Cast Pittsburgh)
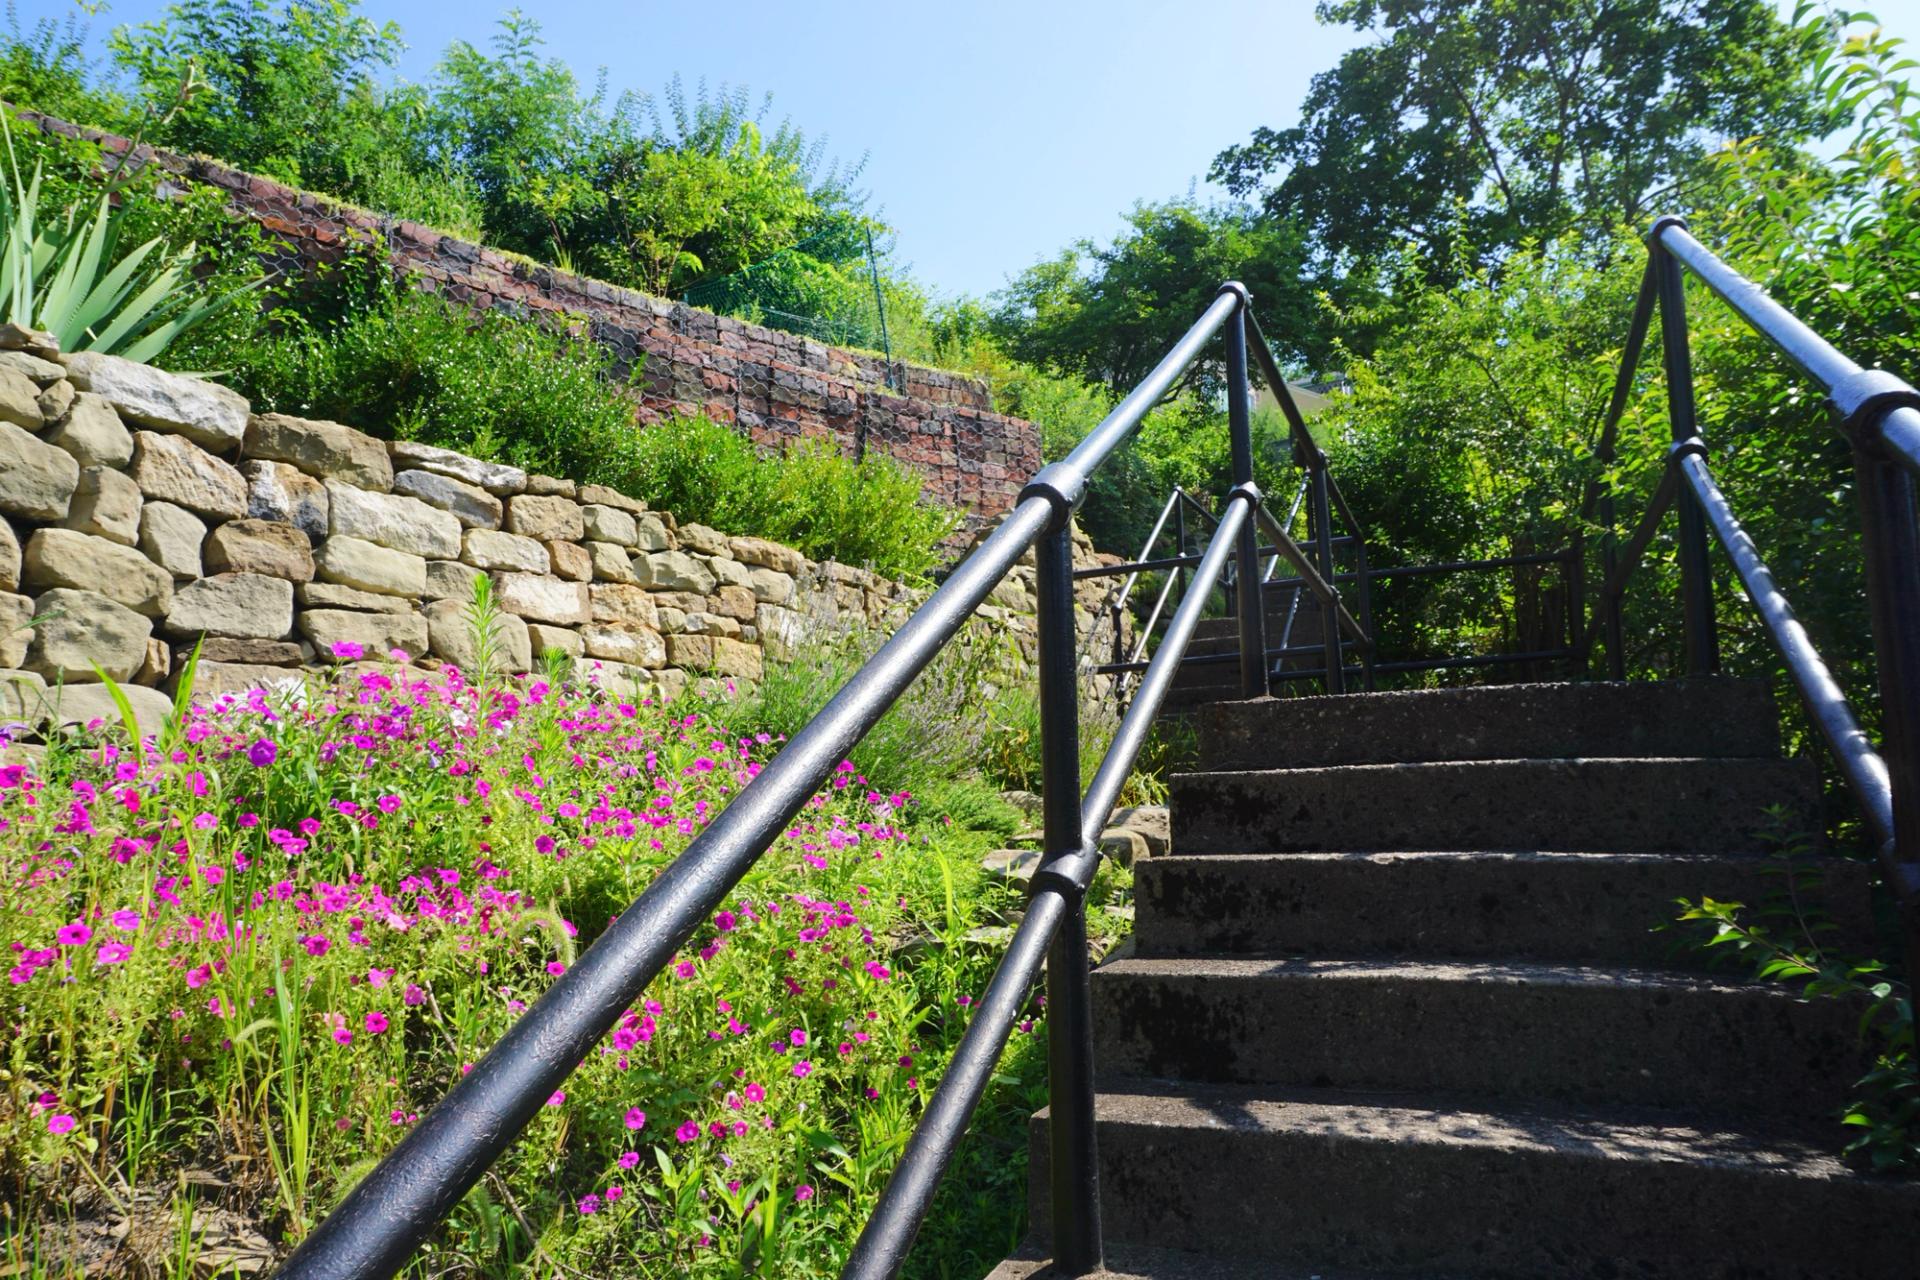
For this demonstration, I used one of my city step photos, removed some of the background, and added an underpainting of clouds — because Pittsburgh — and there you have it!
It's fun to imagine each step that Warhol would’ve taken to make his iconic prints of Marilyn Monroe or the Campbell's soup can — and try the process (even virtually) before visiting the museum.